

Every puff leaves a little residue behind. Sweeteners and flavourings build up on the mouthpiece and inside the chimney, condensation collects in the pod base, and tiny amounts of liquid creep onto the contacts. Over a few weeks that shows up as muted or muddled flavour, a sticky or intermittent connection, gurgling and slow leaks.
A clean device also shows you what is going on. With the pod out and the contacts wiped, you can see whether a seal has split, whether liquid is getting past the pod and whether the coil is darkening. Most of the problems in our guide to 8 common vape problems are easier to spot on a clean kit.
| How you vape | Quick wipe | Deep clean |
|---|---|---|
| Light user, one flavour | Every few days | Weekly |
| Daily user, one flavour | Daily | Weekly |
| Heavy user or sweet liquids | Daily | Every few days |
| Changing flavour | Before refilling | Every flavour change |
A quick wipe means a dry tissue or cotton bud over the mouthpiece, the pod base and the device contacts. A deep clean means taking the pod apart and rinsing it as described below. If you use very sweet dessert or candy flavours, clean more often: they leave the most residue.
Pods with a built-in coil are wiped, not rinsed; see Different pods, different rules below.
Nothing specialist. Warm (not hot) tap water, a small bowl, cotton buds, a clean paper towel or lint-free cloth, and a wooden toothpick for the airflow slots. Isopropyl alcohol on a cotton bud is useful for stubborn residue on metal contacts, as long as you let it evaporate fully before reassembling.
Avoid washing-up liquid, bleach, abrasive pads and anything metal that could scratch the contacts. Never use a hairdryer, radiator or oven to speed up drying: heat can warp plastic pods and damage seals.
This method suits refillable pods that take a separate coil. If your pod has a built-in coil or is prefilled, use the section below instead, because the rinse step changes.
If you are not sure about filling after a clean, our guide on how to fill a pod kit correctly covers the right level and the priming wait.
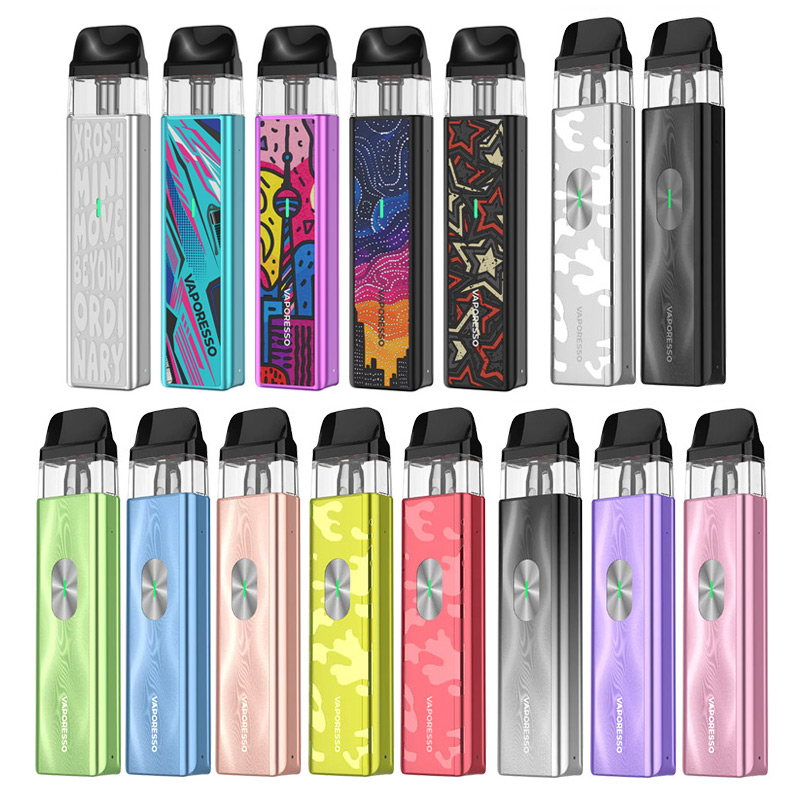
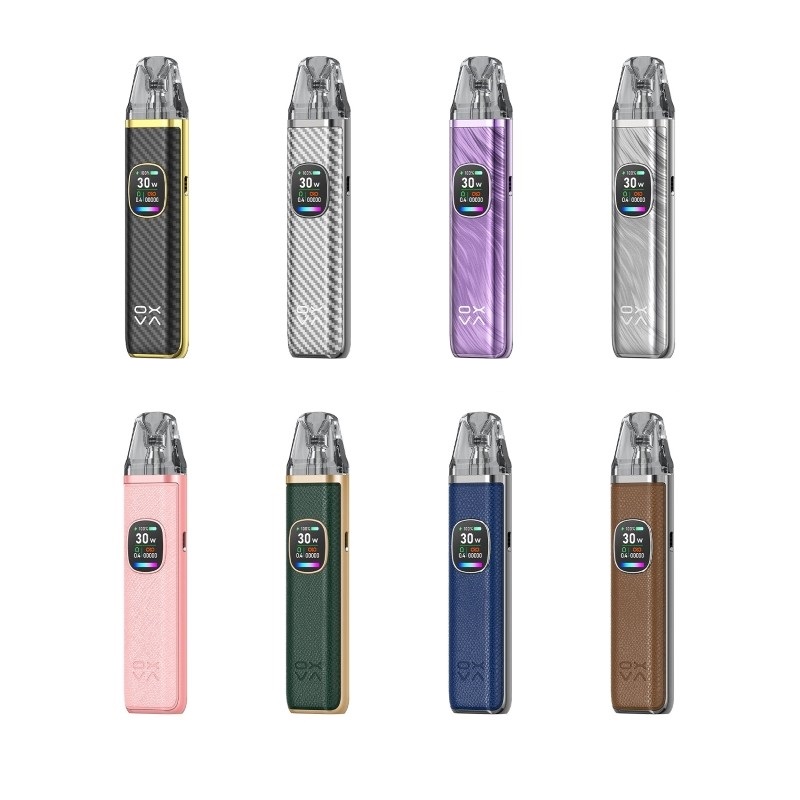
Pods with a built-in coil. The Vaporesso Xros 4 Mini and Oxva Xlim Pro 2 use pods where the coil is part of the pod. You replace the whole pod when the coil wears out. While a pod is in use, do not rinse it under the tap, because the cotton soaks up water. Wipe the mouthpiece and pod base, clear the airflow with a cotton bud and dry the contacts. When you switch to a fresh pod, clean the device bay at the same time. Spare pods such as Xros Corex 2.0 replacement pods are sold in multipacks; check which pods your device takes before you order.
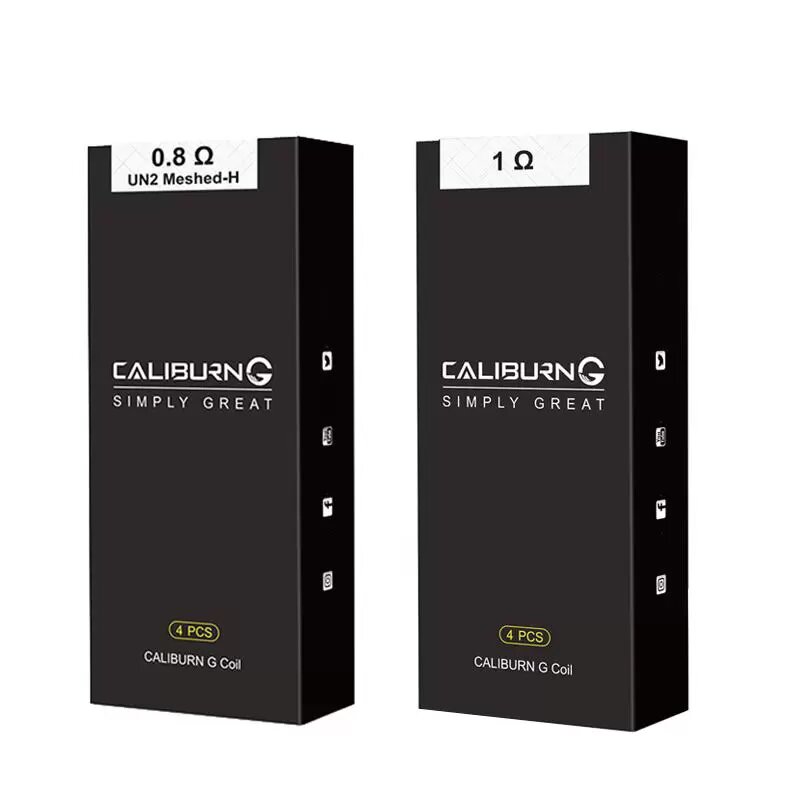
Pods with a separate coil. The Uwell Caliburn G2 uses a refillable pod with a push-in coil. Pull the coil out, rinse and dry the empty pod as in the six steps, then refit the coil once the pod is completely dry. The Uwell Caliburn G and G2 coils come in four-packs, so if the coil is dark or the flavour has faded, fit a new one instead of refitting the old one.
Prefilled pods. A prefilled pod is sealed and not designed to be opened or rinsed. Clean only the outside: wipe the mouthpiece, and dry the pod base and the device contacts with a cotton bud whenever you change pods. The same goes for replacement prefilled pods such as the Lost Mary BM6000 prefilled pod.
Rinsing the device. The battery section is never rinsed or submerged. If liquid or water gets into the pod bay, dry it with cotton buds and leave the device switched off and upright for a few hours before charging.
Refilling while wet. Water in the chimney or on the contacts dilutes the first puffs, spits, and can stop the device recognising the pod. Wait the full drying time.
Poking the charging port with metal. Pocket fluff in the USB-C port is a common reason a kit stops charging reliably. Clear it with a dry wooden toothpick or a puff of air, never a pin or paperclip, which can short or bend the contacts. Charge with the USB-C cable supplied with the kit, plugged into a standard low-output USB plug or a computer port, avoid fast-charge bricks, and do not charge unattended overnight.
Hot water and harsh cleaners. Boiling water and chemicals can warp or cloud plastic pods and harden seals. Warm water does the job.
Expecting cleaning to revive a coil. Once cotton is burnt or clogged, no amount of cleaning brings the flavour back. Pod coils typically last one to three weeks. Our guide on when to change your pod or coil explains the signs, and why your vape tastes burnt covers dry hits.
Ignoring a leak. Liquid in the pod bay is a sign something upstream needs fixing: overfilling, a worn pod or liquid that is too thin. See why your vape is leaking for the full list, and our guide to vape maintenance for a routine that covers the whole kit.
Store the kit upright so liquid does not pool against the airflow. Wipe the mouthpiece when you put it away. Refill before the pod runs dry, and fill to the line rather than the brim. Match your liquid to the coil: pod kits and MTL coils of 0.6 ohm and above suit 50/50 10ml e-liquid or nic salts, which wick cleanly and leave less residue than thick high-VG liquid would in a small coil.
If a kit is still misbehaving after a good clean and a fresh pod, it may simply be worn out. Our pod kits range covers every budget when it is time for a new one.
Free UK delivery over £15, 1.8 reward points on every £1 and 20,000+ five-star reviews. New here? Register at checkout for 10% off your first order.
Give it 30 to 60 minutes of air drying, away from heat. Blow through the pod to clear the chimney, and only refill when every part is dry.
Not while you are still using it, because the cotton soaks up water. Wipe it, clear the airflow with a cotton bud and dry the contacts instead.
A daily wipe is fine and helps. If your pod takes a separate coil, a full rinse once a week is enough for most people, or whenever you change flavour; pods with a built-in coil get a wipe instead of a rinse.
The coil or pod is worn. Cleaning removes residue but cannot fix scorched cotton, so fit a new coil or pod.
Yes, a little isopropyl alcohol on a cotton bud cleans sticky contacts. Let it evaporate completely before you refit the pod.