A coil is a small heating element wrapped in cotton. Every puff leaves a trace of residue on the metal and slowly tires the cotton, so performance drops gradually. These are the signs, roughly in the order most people notice them.
| Sign | What you notice | What to do |
|---|---|---|
| 1. Muted flavour | A liquid you know well tastes flat or “muddy” | Change within a day or two |
| 2. Less vapour | Thinner clouds at the same setting on a charged battery | Change soon |
| 3. Burnt taste that stays | Harshness that doesn’t go away after a refill and a rest | Change now |
| 4. Gurgling or leaking | Liquid in the airflow, spitting, a wet pod base | Reseat first, then change |
| 5. Dark cotton or liquid | Brown or black wick, liquid in the pod turning darker | Change at the next refill |
Muted flavour comes first because residue on the metal stops it heating the liquid evenly. It’s the best early warning, and if you change at this point you’ll rarely see the others. Less vapour follows as the cotton stops holding as much liquid. Check the battery is charged before you blame the coil; a flat battery gives the same symptom.
A burnt taste can come from a single dry puff on a healthy coil, so refill, let the kit rest for a few minutes and try again. If it’s still harsh, the cotton is scorched and won’t recover. The causes and fixes for burnt hits have their own guide: why does my vape taste burnt.
Gurgling and leaking can mean a worn coil that no longer holds liquid back, but they’re also caused by overfilling and loose seals. Reseat the coil and check the O-rings first; our guide to stopping vape leaks covers the other causes. A light crackle, on the other hand, is normal, and our guide to crackling sounds while vaping tells you which noises matter. Finally, dark cotton seen through the wicking ports, or clear liquid slowly turning brown in the pod, is residue you can see.
A pod or tank coil is typically changed every one to three weeks. Where you land in that range depends mostly on three things: how sweet your liquid is, how much you vape, and whether your kit runs the coil inside its rated wattage.
Someone vaping a plain menthol or tobacco on a modest setting can often go three weeks. Someone vaping dessert flavours all day will usually be changing weekly. Neither is wrong. If you want to stay ahead of the fade, pick a day of the week to check, and change on that day whenever the flavour has started to slip.
If you’re changing every two or three days, that’s not normal wear. Something is shortening coil life, and our guide to why coils burn out fast walks through the causes and a simple test to find yours.
The usual suspects are very sweet liquids, running the coil above its rated wattage, chain vaping faster than the cotton can re-soak, and skipping the priming soak on a new coil. Change one thing at a time so you can tell which one made the difference.
What you actually buy when the coil is finished depends on how your kit is built. There are four set-ups.
The fourth set-up is a prefilled pod kit. Each prefilled 2ml pod has its own coil, so you change the pod when it’s empty and the coil is never in play for long. That’s why prefilled kits are the easy option for anyone who never wants to think about coils; see the best prefilled pod kits to avoid burnt coils.
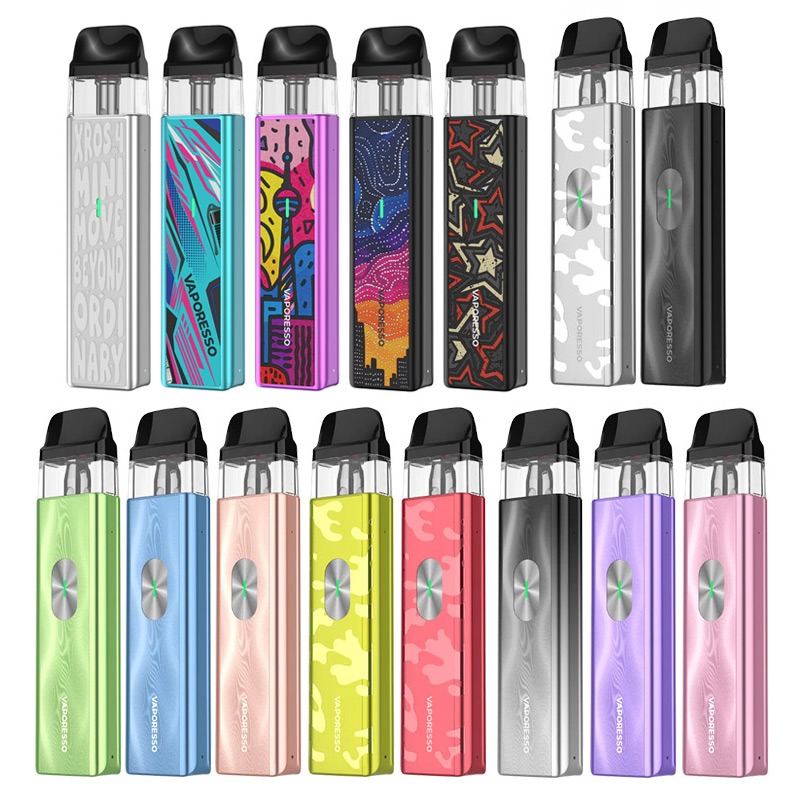
On built-in-coil kits like the Vaporesso Xros 4 Mini and the Oxva Xlim Pro 2, a new pod also means new seals and a clean chimney, so it fixes a tired pod and a tired coil at the same time. On pod-plus-coil kits, the pod itself wears more slowly, but it’s worth replacing every few coils when the plastic scratches or the seals loosen. Browse all refillable replacement pods by kit.
This works for pod-plus-coil kits and tanks. For built-in-coil pods, fit the new pod and go straight to step five.
The easiest way to never vape on a dying coil is to have the next one ready. Multipacks mean you’re never caught out, and every order earns 1.8 reward points per £1. These are replacements we list for popular kits; always check the compatibility on the product page against your device.

Uwell Caliburn G and G2 coils (4 pack). For the Caliburn G and G2 pod kits, in a 0.8 ohm mesh, a 1.0 ohm standard MTL coil and a 1.2 ohm mesh, made for 50/50 and higher-PG liquids.
Voopoo PnP coils (5 pack). Push-fit coils for Voopoo’s Argus, Drag and Vinci families, from a 1.2 ohm MTL mesh at 10W to 15W to high-power mesh for sub-ohm vaping.
Aspire BVC coils (5 pack). A five pack of screw-in coil heads for the Aspire tanks that take them, handy for changing on a schedule.
Built-in-coil pods. Replacement pods such as the Vaporesso Xros Corex 2.0 pods (4 pack) and Oxva Xlim V3 pods (3 pack) give you a fresh coil and fresh seals in one click.
If you’re not sure which coil or pod your kit takes, the name is usually printed on the old coil or on the pod itself, and every product page lists compatible devices. If you’d like to understand what’s happening inside the coil, read how vape coils work. If your kit offers both mesh and regular coils, a coil change is a good time to try the other type.
Free UK delivery over £15, 1.8 reward points on every £1 and 20,000+ five-star reviews. New here? Register at checkout for 10% off your first order.
Typically one to three weeks. Sweet liquids and heavy use put you at the short end; plain flavours at a modest setting at the long end.
It depends on the kit. If the coil is built into the pod, as on the Xros 4 Mini or Xlim Pro 2, you replace the pod. If the pod takes a separate coil, as on the Caliburn G2, you change the coil.
You can, but it will only get worse and is more likely to leak or taste burnt. Changing at the first sign of muted flavour gives the most consistent vape.
It helps with strong flavours like menthol or aniseed, which linger in the cotton. Between similar flavours you can simply refill; on a pod-plus-coil kit, rinsing the empty pod clears most of what’s left.
No. Each prefilled pod has its own coil, so you replace the pod when it’s empty or when the flavour fades.